If you have created a Vantage course in the past, you may wish to copy that course to use for another section in the same term or for a new term.
 TIP: Copying a course is a one-time action. You should finish customizing the assignments and due dates of your course before making a copy of it. After you finish the copy process, changes will need to be made to both courses separately.
When making a course copy, the following information is retained in the copy:
· Gradebook Settings
· Individual Assignment Settings
· Hidden Chapters
The following information is not copied:
· Course ID
· Students
· Grades
To get started, click the Create Course button at the top right of your My Courses dashboard.

Choose Copy an Existing Course.

You will see a list of all of your courses available to copy. Locate the course you want to copy and select it. Scroll to the bottom of the page. If the course dates of your old and new courses match – for example, if you are running multiple sections of the same course in a single term – you can copy the due dates as well. Tick the "Copy due dates" checkbox to retain them.

Once you have made your selection, click the Next button to continue.
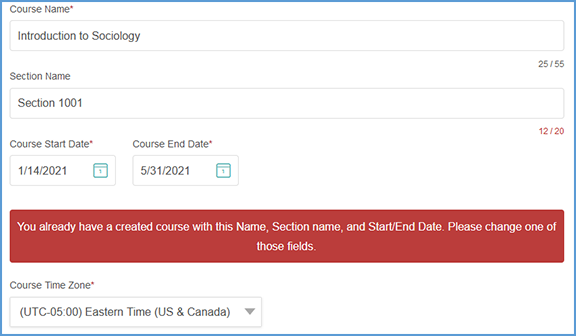
On the following page, you will be asked to change at least one of the following pieces of course information:
· Course Name
· Section Name
· Course Dates

Once you change one or more of these fields, click the Next button to move to the next step: 3. Review & Complete Course. As with the normal course creation process, you can click the pencil icon next to each section to make changes.
Once you are satisfied with your course settings, click Complete to finish creating your course.
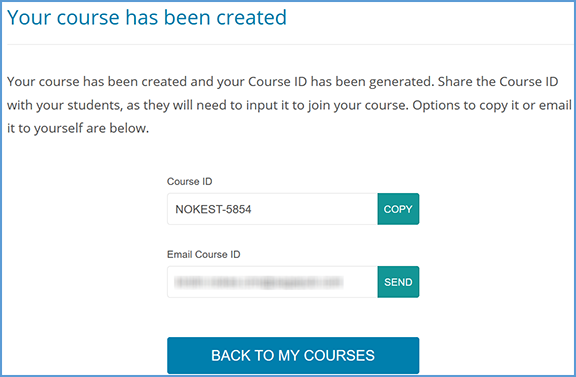
You will see a new page that indicates "Your course has been created." You can click the respective Copy buttons to copy the course link or Course ID of your newly created course. You can then paste these details to wherever you want to store the information.
 TIP: The course link is used only for courses that will NOT be integrated with an LMS. If you plan to pair your Vantage course with a course in your LMS (Blackboard, Canvas, D2L Brightspace or Moodle), this course link will not work to allow your students access to your Vantage course.
You can also click the Send button to email a copy of this information to yourself.

Once you are finished on this page, click Back to My Courses to return to your My Courses dashboard. You will now have a course tile for your course that shows the name, section information (if added), start and end dates, and the Course ID.
