Vantage
Coordinator User Guide
Purpose of this Coordinator user guide is to give you a
thorough overview and how-to instructions of the core functionalities of the
Vantage coordinator role. If you have any question or issues while working in
the coordinator role, please do not hesitate to reach out to Sage’s LMS Support
team for assistance (LMSsupport@sagepub.com).
Coordinator
Dashboard Overview
From the
Coordinator Dashboard, you can access the Templates, Courses, and Instructors
tabs. You will notice the dashboard defaults to the Templates tab.
Here is a
brief overview of what you can do from each tab:
1. Templates: From the Templates
tab, you can create and edit Vantage course templates, as well as turn Vantage
courses into templates that can then be used to create multiple courses. You
can also view all templates created in their departments.
2.
Courses: From the Courses
tab, you can create multiple copies of a template (up to 25 at time), assign
and un-assign courses to instructors in your approved departments for your
institution, and view basic course information.
3.
Instructors: From the
Instructors tab, you can search for existing approved Vantage instructors in your
assigned departments at your institution and create new Vantage instructor
accounts for the departments you manage.
Before you
can start creating and assigning your Vantage courses to instructor, you need
to have a template to create those courses from. Once you have created a
template, then you can create courses from that template and assign them to
instructors. Adding instructors can be done during course copy/creation or
after, as you have the option to leave courses unassigned.
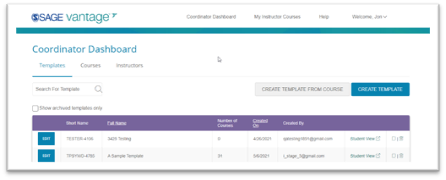
Templates
Tab
From the
Templates tab, you can create and edit Vantage course templates, as well as
turn Vantage courses into templates that can then be used to create multiple
courses. You can also view all templates created in their departments.
How
to Create a Template:
You have two
options for creating a template. First, is to create a template from scratch by
clicking “Create Template” (instruction below). Second, is to turn an existing
Vantage course into a template (instructions below). Remember, you can always
edit your templates after creating them and before creating courses from them.
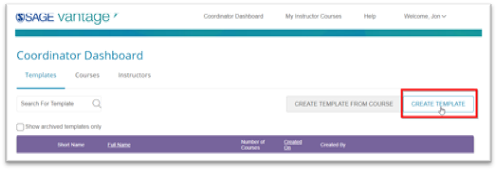
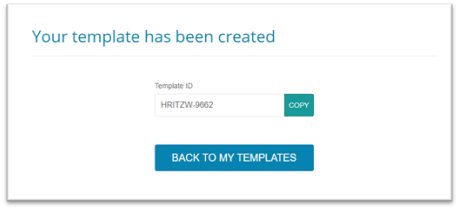
How to
Create a New Template:
From the
Templates tab:
- Click the "Create
Template" button
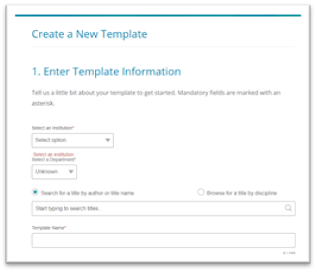
- Fill out the "Template
Information" page
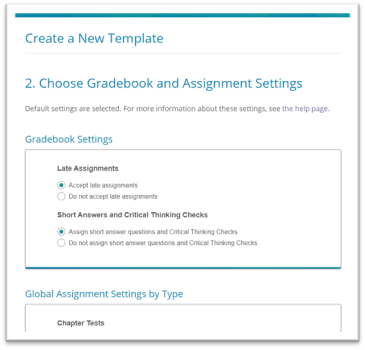
- Fill out the "Gradebook
& Assignment Settings" page
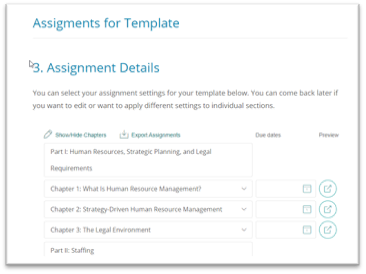
- Fill out the "Assignment
Details" page as desired
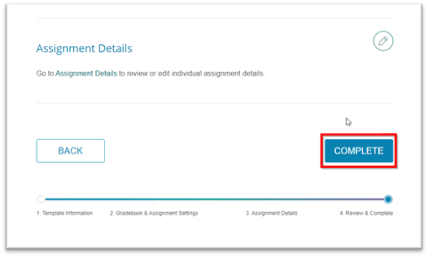
- Finish Template Creation by
reviewing the settings then Click "Complete"
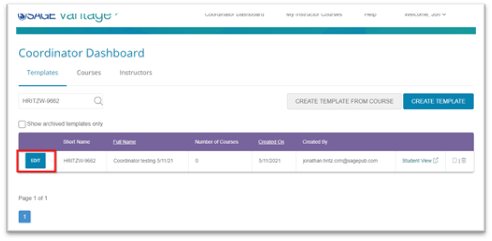
How
to Edit a template:
You can edit
your templates at any time from the Templates tab. You can edit every aspect of
the Template by clicking "Edit" by the desired Template. This will
take you to the global settings screen for the template where you can edit at
the following three levels:
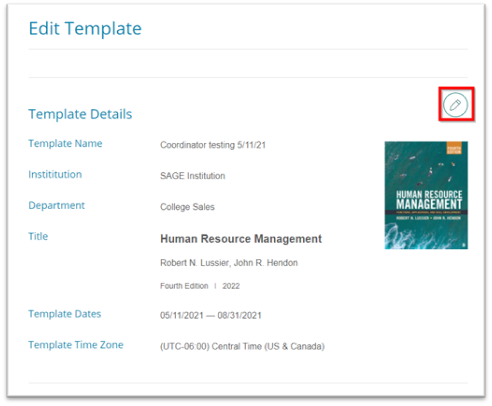
- Template Details: Here you can
edit the Templates name, Section Name, Start and End Dates, Time Zone, and
Description.
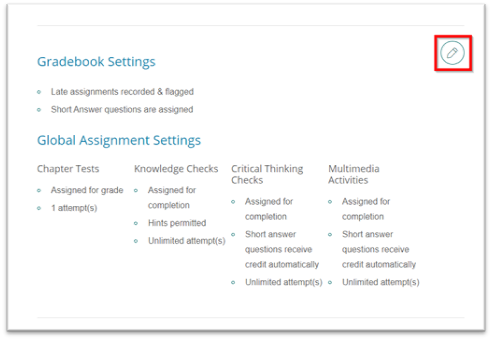
- Gradebook Settings: Clicking
the edit icon will take you to the global Gradebook Settings where you can
change the overall setting for Chapter Test, Knowledge Checks, Critical
Thinking Checks, and Multimedia Activities.
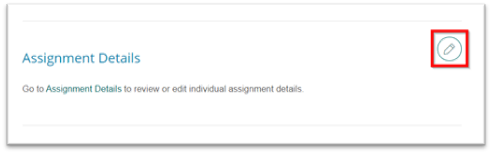
- Assignment Details: Clicking
the edit icon will take you to the Assignments page where you can edit due
dates and assignments
- Click "Save Changes"
when finished
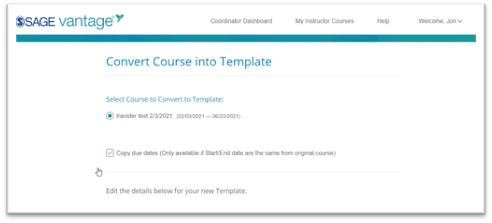
How
to turn a course into a template:
You have the
option to turn Vantage courses from instructors within your approved
departments into Templates. All that is required is the Course ID of the course
you wish to create a Template from. Once the course has been converted into a
template, you can create multiple copies and assign them.
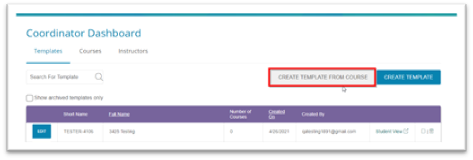
Steps for Creating Template
from a Course:
- Click on "Create Template from
Course" button
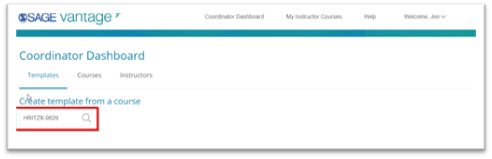
- In the Search box, enter the
Course ID of the course you want to turn into a template and click the
magnifying glass icon
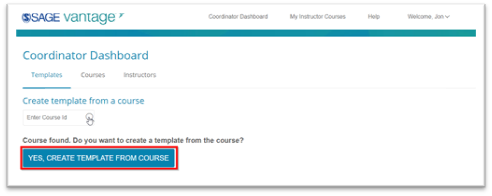
- If the course is found, click
on "Yes, Create Template from Course" button
- Make any edits to the global
settings
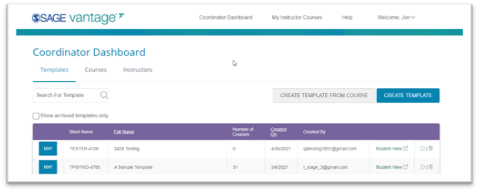
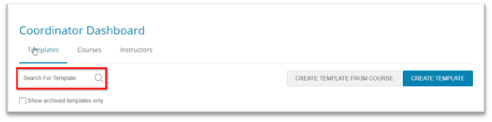
How
to Search templates
You can
search for existing Templates by either the Course ID, Short Name, or Full
Name. Simply type in the "Search for Template" box and click the
magnifying glass icon.
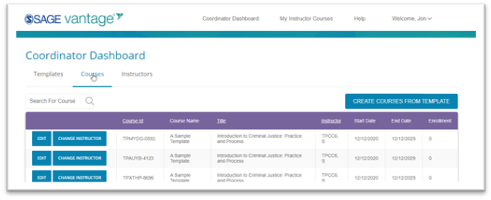
Courses
Tab
From the
Courses tab, you can create multiple copies of a template (up to 25 at time),
assign and un-assign courses to instructors in your approved departments at
their institution, and view basic course information.
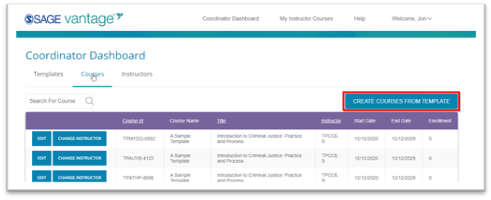
How
to "Create Courses from a Template":
- Click "Create Courses from
Template"
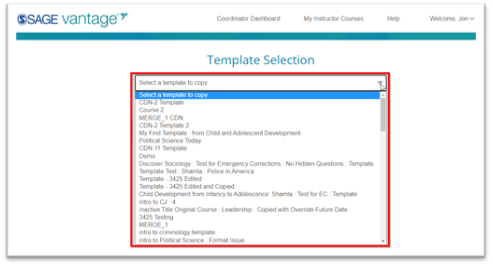
- From the Template Selection
screen
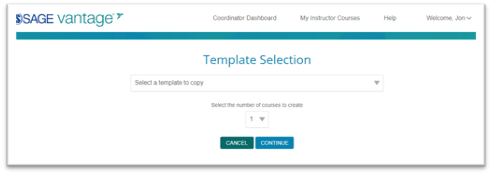
- Select the template to copy
from dropdown menu
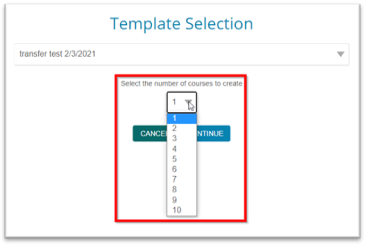
- Select the number of copies to
create (up to 25 at a time)
- Click "Continue"
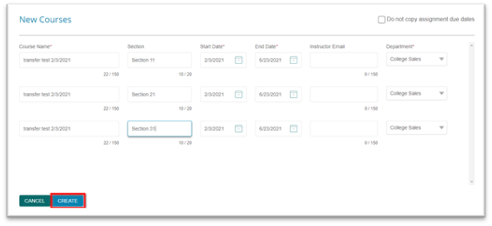
- On the New Courses screen, you
can edit the Course Name, Section, Start/End Date, and assign a course to
an instructor. (note: Courses cannot have identical
names. Either the Name, Section name, and/or Start/End Date must be unique
for all courses copied from this template)

How
to "Search for a Course":
From the
Courses Tab, you can search for courses by either the Course ID or the Course
Name.

How-to
"Change an Instructor"
You can
change or assign a course to an instructor in your approved department(s) if
that instructor already has a Vantage account (which can be checked on the
Instructor Tab). See below for creating new instructor accounts.
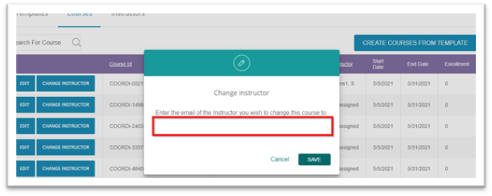
From the
Courses Tab:
- Click on "Change
Instructor" from the menu
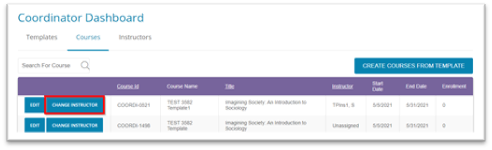
- Enter the email address of the
instructor you want to assign that course to
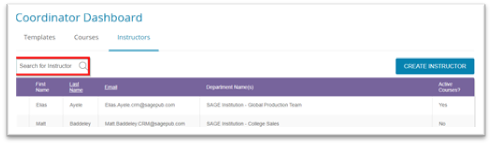
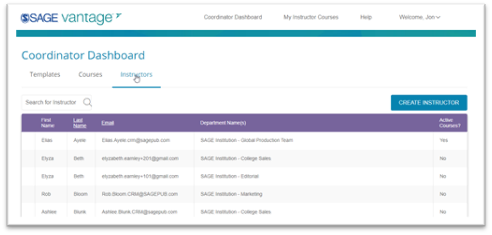
Instructor
Tab
From the
Instructors tab, you can search for existing approved Vantage instructors in your
assigned departments at your institution and create new Vantage instructor
accounts for the departments you manage.
General
Guidelines & Reminders:
- You can create new Vantage
instructors for the departments that are associated with your account
- If you cannot find an existing
instructor when you search on them either:
- They do not have a Vantage account
and need to have one created,
- The instructor you are
searching for is associated with another department. In which case, reach
out to our LMS Support team (LMSsupport@sagepub.com) to fix the issue
- Or, the instructor has never
logged into Vantage but has an account. Have the instructor reset their
password and log into Vantage. Then you can assign the a course to them
If you have any issues finding or creating instructor
accounts, reach out to your primary Sage contact for assistance.
How
to "Create Instructor":
From the
Instructor Tab:
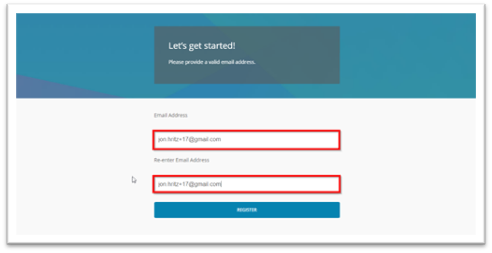
- Click "Create Instructor"
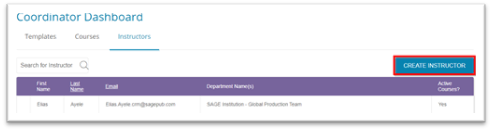
- Enter the instructors email
address and click "Register"
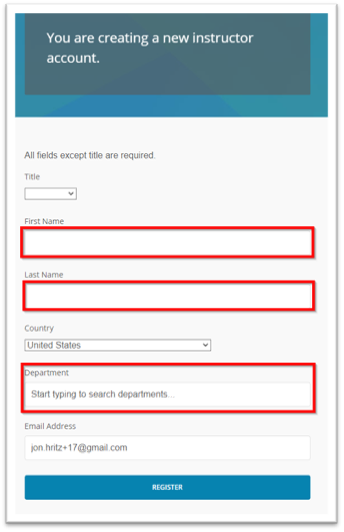
- Complete the form for: Title,
First Name, Last Name, Department
How
to "Search for Instructor":
In the
"Search for Instructor" box, you can search by First Name, Last Name,
or Email to confirm if an instructor exists for your department.