This process covers the LTI 1.3/Advantage configuration for Blackboard version 3700.11.x or higher.
Some configuration information is provided to you by Sage. Your Sage Technical Implementation Specialist will provide these details using a privnote link (https://privnote.com/). Please note that this link can be opened once. When you close the page, the contents of the privnote will be destroyed. Once you open the privnote, we recommend storing a copy of this information for your records.
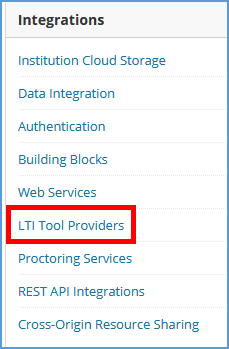
- Log into your Blackboard LMS as an Administrator. Next, go to the Administrator Tools page. In the Integrations section, select LTI Tool Providers to begin.
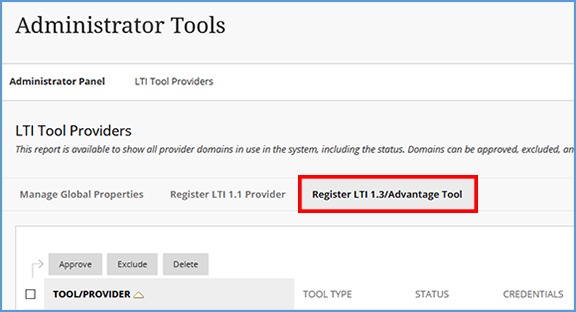
- On the LTI Tool Providers page, click on Register LTI 1.3/Advantage Tool.
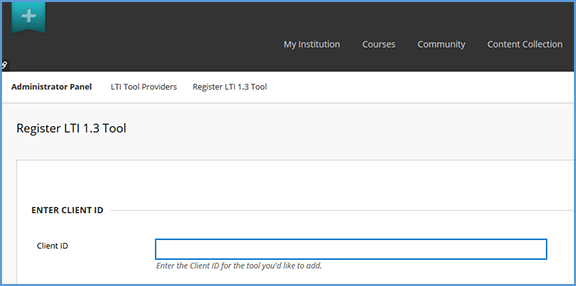
- You will be asked to enter a Client ID. Sage will provide this information to you. Paste the Client ID you are given into the text field. Next, click Submit found on the lower right of the page to continue.
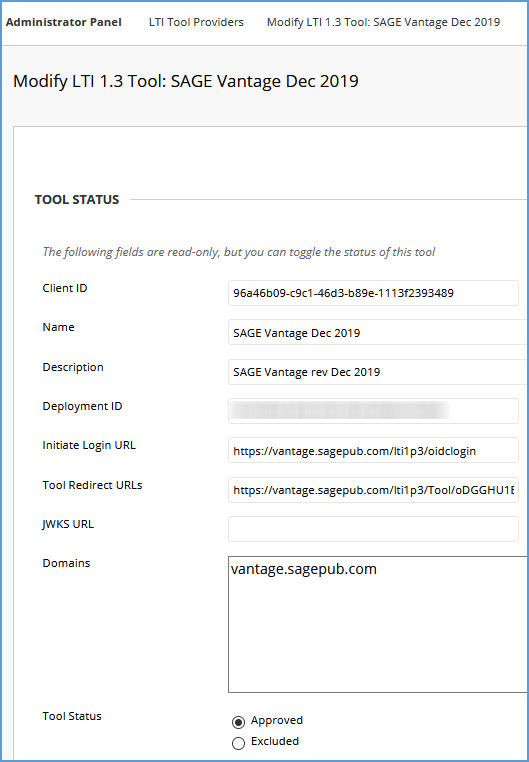
- You will be taken to the Accept LTI 1.3 Tool page which will allow you to review settings for the tool's setup. Make note of the required settings outlined below to ensure that your Sage Vantage tool will function correctly.
- Tool Status: This information is pre-filled based on the default settings for the tool. Change the Tool Status to Approved to allow the LTI connection to work.
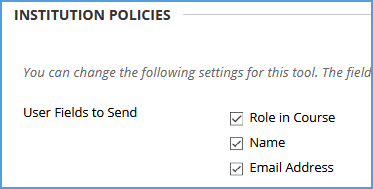
- User Fields to Send: These fields are listed under the "Institution Policies" section. This information is used to identify students in Vantage. Make sure that the checkbox for each of these items is ticked:
- Role in Course
- Name
- Email Address
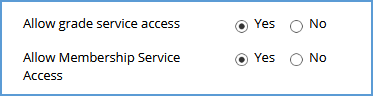
- Allow grade service access and Allow Membership Service Access: Select the Yes radio button for both items to enable the grade sync functionality.
- Make a final review of the settings for accuracy. Next, click Submit found on the lower right of the page to complete the tool setup.
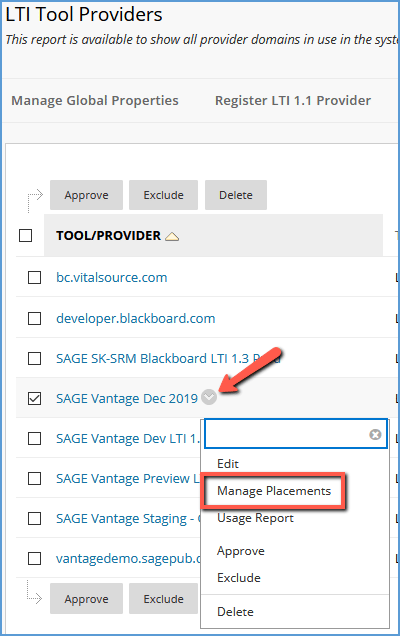
- Find the Sage Vantage tool in the alphabetized list of tools. Hover your mouse over the tool name so its Menu icon will appear to the right. Click the Menu icon then select Manage Placements from the available options.
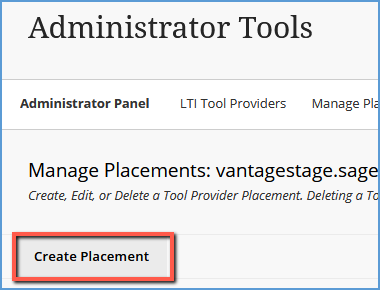
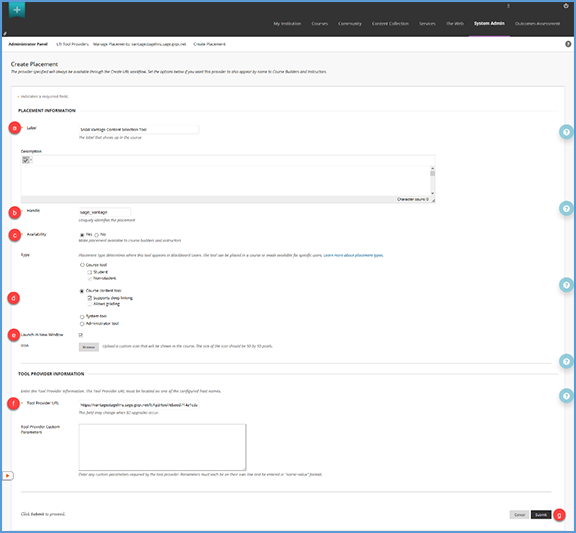
- Select the link to Create a Placement. Complete the following fields as indicated:
- Label: Name the label Sage Vantage.

- Handle: Use a unique value such as sage_vantage.

- Availability: Select Yes so that course builders and instructors can use the tool.

- : Select the Deep Linking content tool radio button. Be sure to click the Allow student access checkbox.
 : Tick the checkbox to enable this option.

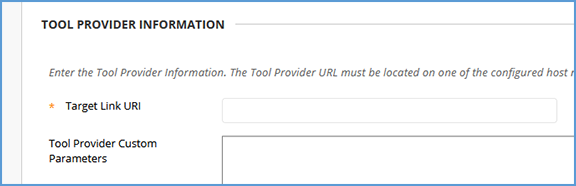
- Tool Provider URL: Fill in this text field with the URL provided by Sage.
- Make a final review of the settings for accuracy. Next, click Submit found on the lower right of the page to complete the placement.
- We recommend that you attempt to add a link to Vantage in a sandbox course to confirm the tool configuration is working. The steps to add a link are different depending on whether you have Original or Ultra view.
- Original Course View
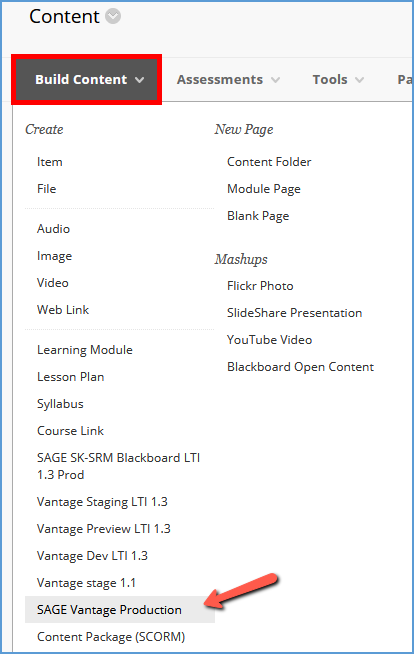
i. Navigate to the Content Area in your course where you would like to place your links. Under Build Content, look for the Sage Vantage tool and select it.
ii. You should see the following error message that you do not have a valid Vantage account:
"Message: Your learning management system email [your_email@school.edu] does not match an existing account in Sage Vantage. Please contact collegetechissues@sagepub.com so that our support team can create or merge your accounts."
![The 400 - BadRequest error reads: "Message: Your learning management system email [your_email@school.edu] does not match an existing account in Sage Vantage. Please contact collegetechissues@sagepub.com so that our support team can create or merge your accounts." It tells you that Vantage has authenticated and is looking for a valid instructor account rather than an Admin account.](https://sagevantage.softwareassist.com/Customizations/kbfiles/admin_images/image101.png)
Seeing this error indicates you have authenticated into Vantage to the point where it is doing a user check. Since the user check is looking for an instructor account, this message indicates the configuration is correct.
- Ultra Course View
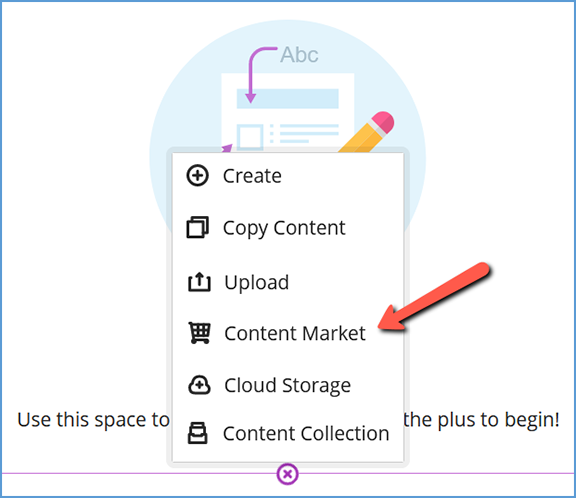
i. Navigate to the Content Area in your course where you would like to place your links. Click the plus sign to begin.
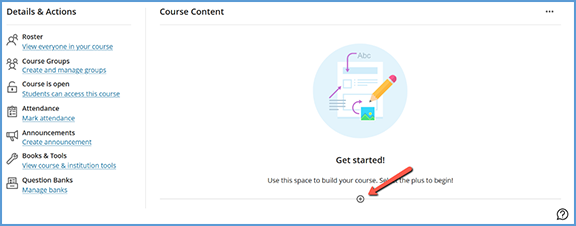
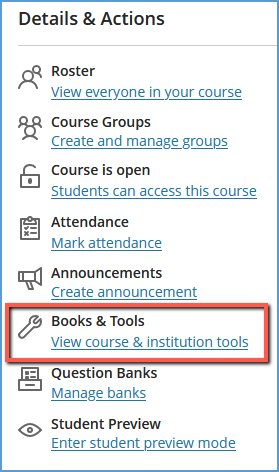
Note: You can also look under "Books & Tools" in the left navigation, then click the View course & institution tools link. You may then need to click "Browse available partners" or "Browse all course tools" to find the Sage Vantage tool. Both options will take you to the Content Market.
ii. In the content menu, select Content Market.
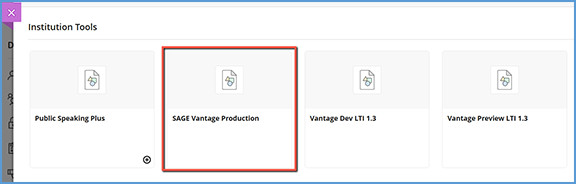
iii. Scroll down to the Institution Tools section at the bottom of the page. Look for the Sage Vantage tool and select it. If you don't see the tool, you may need to click Find More to locate it.
- You should see the following error message that you do not have a valid Vantage account:
"Message: Your learning management system email [your_email@school.edu] does not match an existing account in Sage Vantage. Please contact collegetechissues@sagepub.com so that our support team can create or merge your accounts."
Seeing this error indicates you have authenticated into Vantage to the point where it is doing a user check. Since the user check is looking for an instructor account, this message indicates the configuration is correct.