Question
How do I transfer grades from Sage Vantage to Moodle?
Answer
Export Your Vantage Gradebook
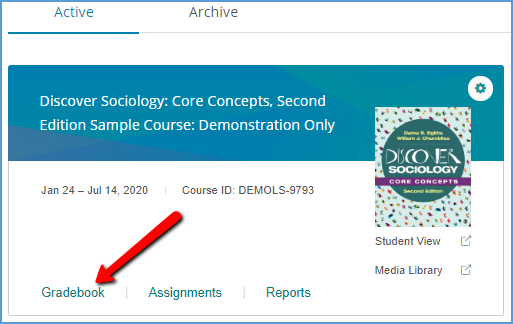
Navigate to the Gradebook area in your vantage course.
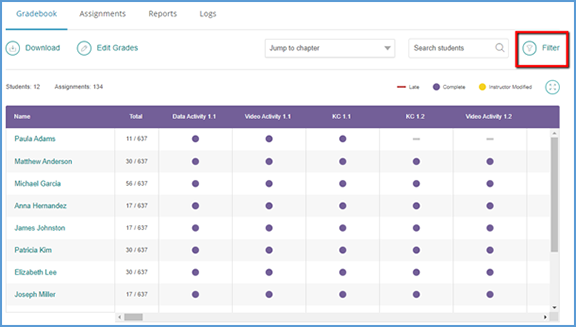
You can filter the gradebook to show only the grades you want to transfer to your Moodle course. Start by clicking on the Filter button near the top right of the page.
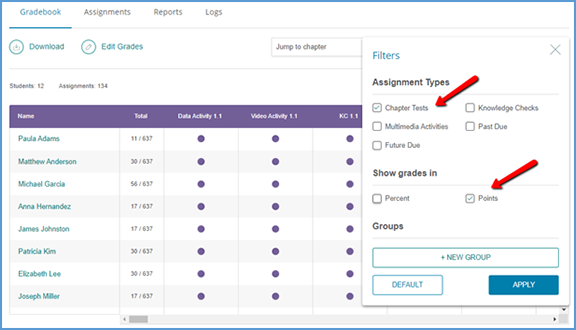
Choose the Assignment Types you want to have grades for in Moodle. Most courses are set up so only the Chapter Tests have grades. Under "Show grades in," tick the checkbox for Points, then click Apply.
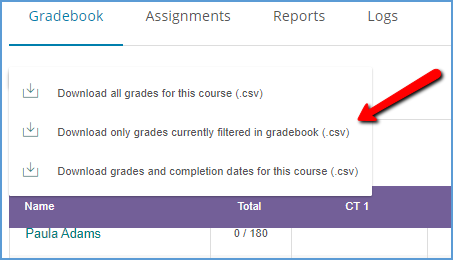
Once the gradebook is filtered to the grades you want to export, click the Download button.
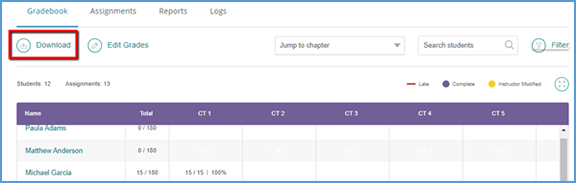
Select the option to Download only grades filtered in gradebook (.csv).
Save the file to your computer.
Add Grade Columns to Your Moodle Gradebook
You need to create the gradebook columns in your Moodle course before you can import them. To create the gradebook columns, you will also need to know the total point value for each item you want to include in the gradebook. The default point value for a Chapter Test in vantage is 15 points.
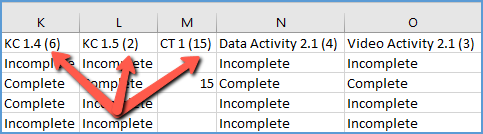
Knowledge Checks, Video Activities, Data Activities, and Critical Thinking Checks are usually assigned for completion in vantage. It is not necessary to create gradebook columns for these assignments unless you have assigned them for a grade. If you have assigned any of these assignments for a grade, you can use the gradebook you exported from vantage to get the maximum point value. The column names include the total point value in parentheses.
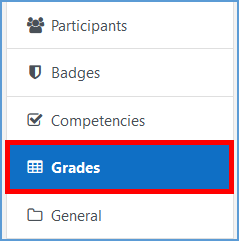
To add gradebook columns in your Moodle course, go to Grades in the left navigation panel to view the gradebook.
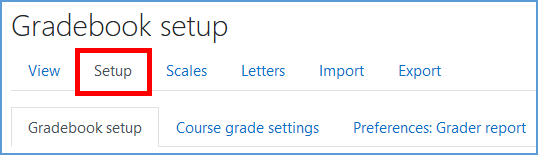
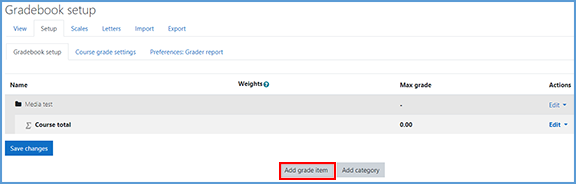
In the Gradebook, go to the Setup tab.
Click Add Grade Item at the bottom of the page to create a gradebook column.
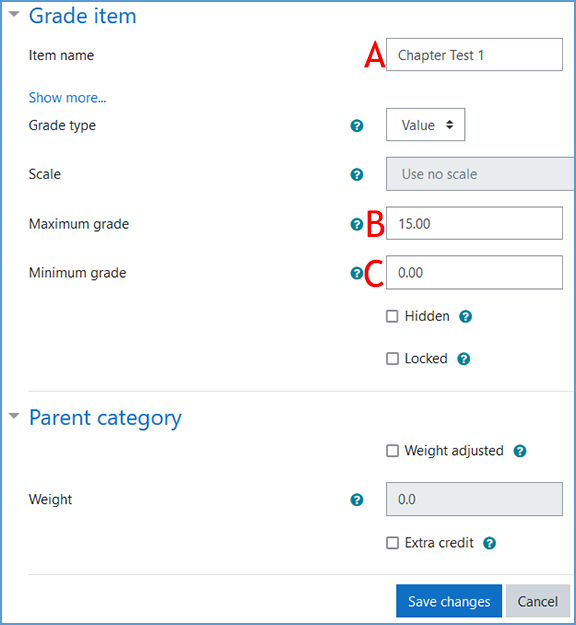
Complete the information for the Grade Item.
A. Enter the name of the activity or assessment you want to import from vantage.
B. Enter the Maximum grade. For Chapter Tests, the default maximum point value is 15 points.
C. Leave the Minimum Grade set to the default value of 0.00.
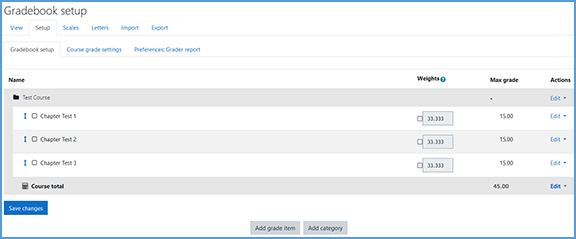
Click Save changes. Your new grade item will display in the list. Repeat this process to add all vantage grade items that you want to import to Moodle.
Export Your Moodle Gradebook
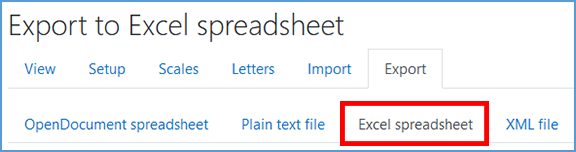
Once you've added the grade columns, you can export the gradebook from Moodle. In your gradebook setup, go to the Export tab.
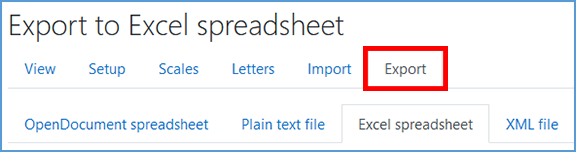
Next, choose the Excel spreadsheet format.
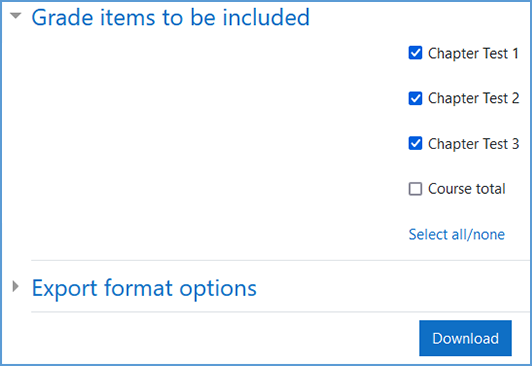
If you do not see the list of gradebook items, click Grade items to be included to expand the list. All grade items are checked by default. Make sure all grade items you created for vantage are checked. You can uncheck the boxes for any other graded items you may have in your course.
Once you've made your selections, click Download.
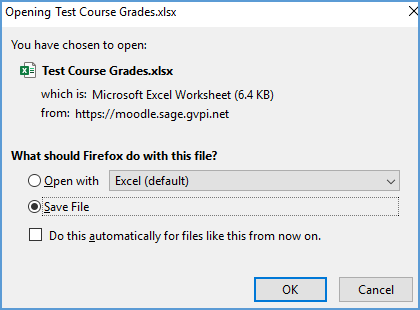
Depending on your browser's settings for file download management, the file may save directly to your computer or you may have the option to open directly in Excel.
Combine Your Grades
Open both your vantage and Moodle export files.
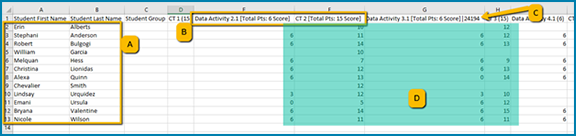
Your vantage export file will show:
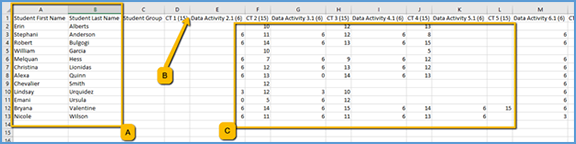
A. Your list of students in columns A and B
B. Your exported Assignments, starting in Column D. The points possible is the number next to the assignment name.
C. Student Grades
Next, match up your vantage Gradebook with what you exported from Moodle.
A. Make sure you have the same number of students in both courses. If you have more students in vantage than in Moodle, you can delete the rows with extra students from the vantage export file. If you have more students in Moodle than in vantage, you can add empty rows in the vantage export to where the extra students are in Moodle.
B. Change the column title from the vantage format so it matches the same item in the Moodle format.
For example, in the vantage gradebook, the title for Knowledge Check 1.1 worth 2 points, looks like this:
KC 1.1 (2)
You will change the column to title to match the same name of the grade item created. So if you created the gradebook column as "Knowledge Check 1.1," you would change the column in the vantage gradebook export to match it:
Knowledge Check 1.1
C. Grade columns exported from Moodle have metadata attached. If you already have the grade columns you need created in Moodle, then you will copy and paste the grades from the vantage export into the correct columns in the Moodle export. If you need to add columns to your Moodle gradebook, you must first add those gradebook items to Moodle then create a new gradebook export. The Moodle export file does not allow any column changes.
D. Once you have organized the columns and rows to match between the two spreadsheets, you can copy and paste all the grades from the vantage export into the Moodle export.
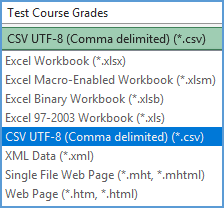
Save your changes as a .csv file (comma separated value). If you have the option to save as CSV UTF-8, choose that option. If you do not see the CSV UTF-8 option, the general Comma Delimited .csv is an okay substitute.
Import Your Grades to Moodle
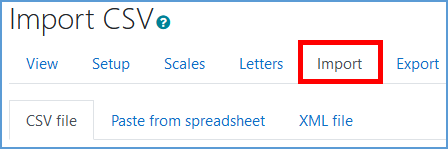
In your Moodle gradebook setup, go to the Import tab.
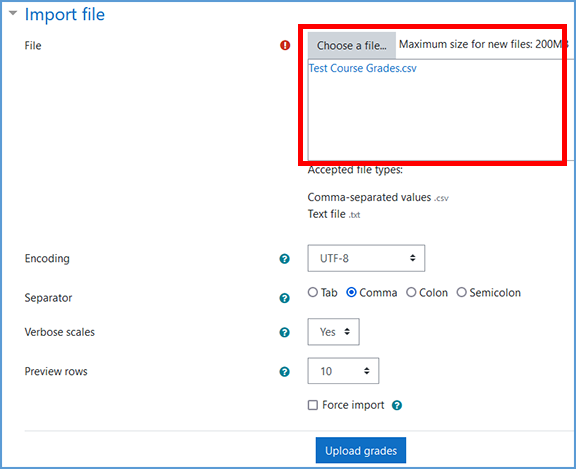
You can drag and drop your file into the box or click "Choose a file" to navigate to the spreadsheet you saved. Click Upload Grades to continue.
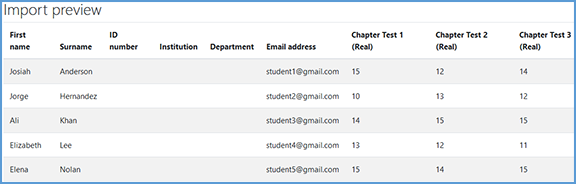
You will have the opportunity to preview the users and grades you are importing.
Complete the "Identify user by" section. "Map from" corresponds to a user identification column in the spreadsheet. "Map to" refers to user identification within the Moodle class roster. These options tell Moodle how to correctly pair user data in the spreadsheet to the respective students in the Moodle gradebook. The mapping type must be the same in both the "Map from" and "Map to" dropdowns.
In this example, we use the email address as the identifier.

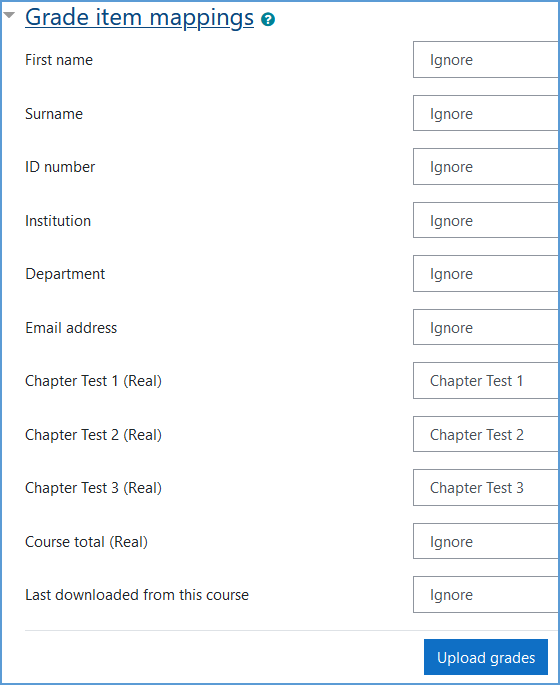
In the "Grade item mappings" section you will map each grade item from the spreadsheet to its matching grade item in the Moodle gradebook. These mappings will be a one-to-one match since the spreadsheet values originally came from your Moodle gradebook. Click "Ignore" next to the item to create the mapping.
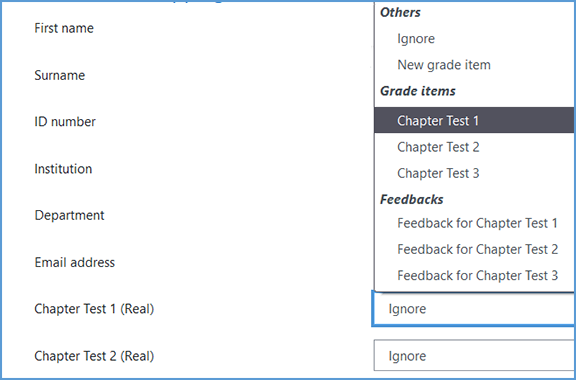
You can leave all other values to "Ignore." Once you have mapped each grade item, click Upload grades.
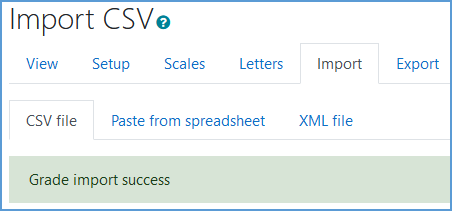
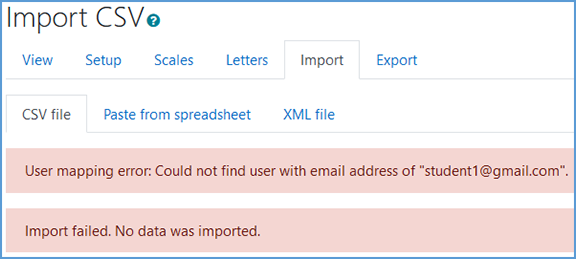
Once the import process completes, Moodle will let you know if it succeeded or encountered errors. If an error is encountered, Moodle will provide a message about what caused it. Once you adjust the item that caused the error, you can import the file again.
You can return to the View tab to verify the grades imported successfully.
